How to send a Signature Request?
We are glad to see that you will test our new document workflow. This guide will teach you how to set up your document with our new workflow.
Please follow these steps to get started.
1) Log in to the Signaturely Web App
2) Go to the Sign Section
3) Upload the File that you want to get Signed. (You can connect one of our Integration to upload your file from there) 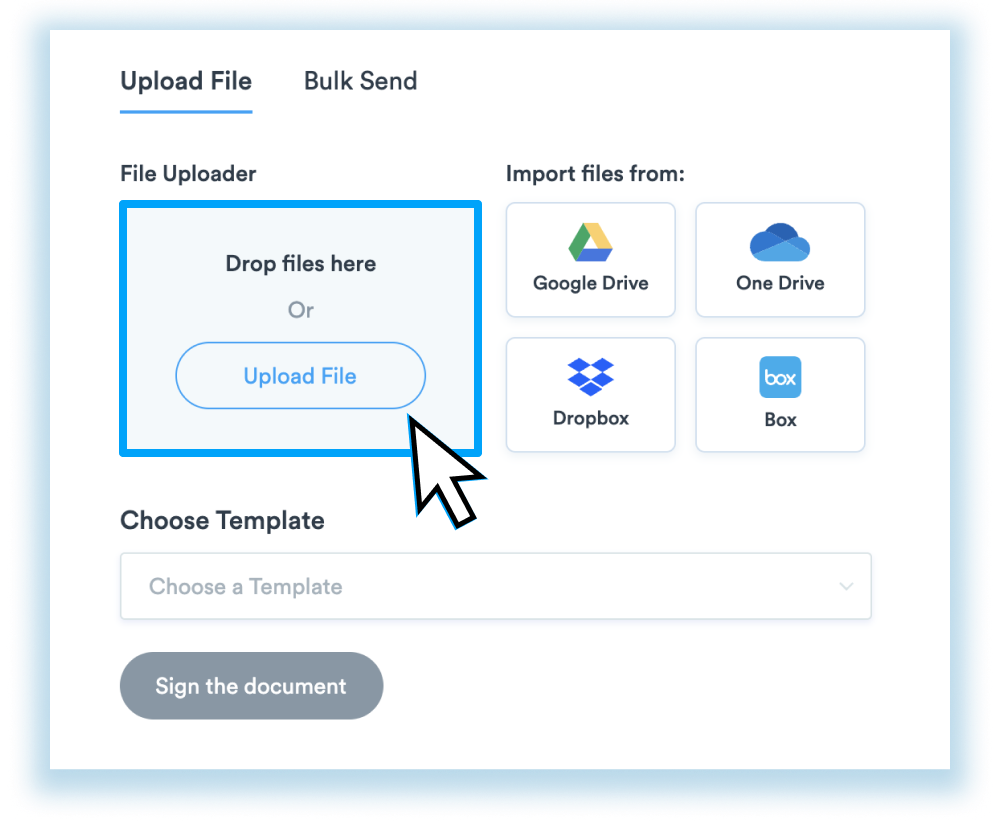

4) Click “Sign the Document” to Proceed. You should be able to see the preview of your document. In this step, you can add the viewers to your document (They will get a download link when it is completed). 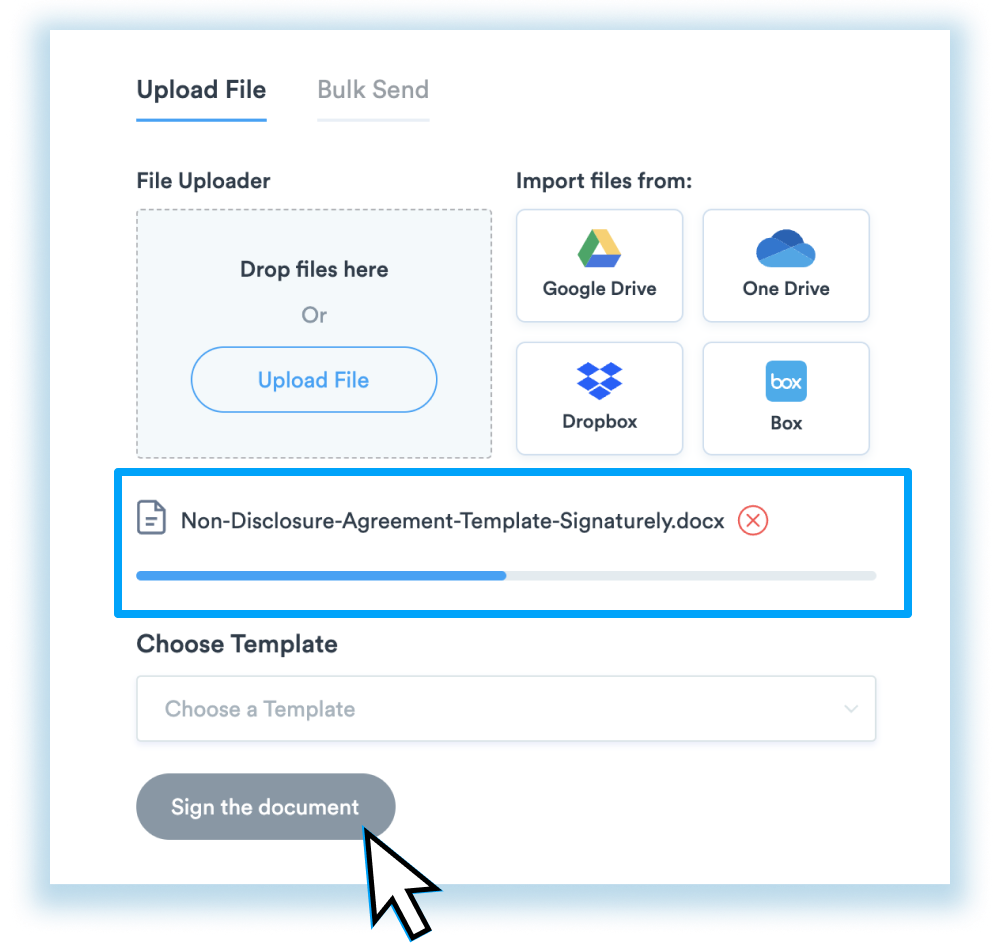

5) Select One of these Options:
Sign Now: You will sign the document instantly and get a copy of your document on your Signaturely account.
Sign and Send for Signature: You will be assigned as the first signer, and you will be able to request Signatures after you have signed the document.
Send for Signature: You will send a Signature request to your documents. 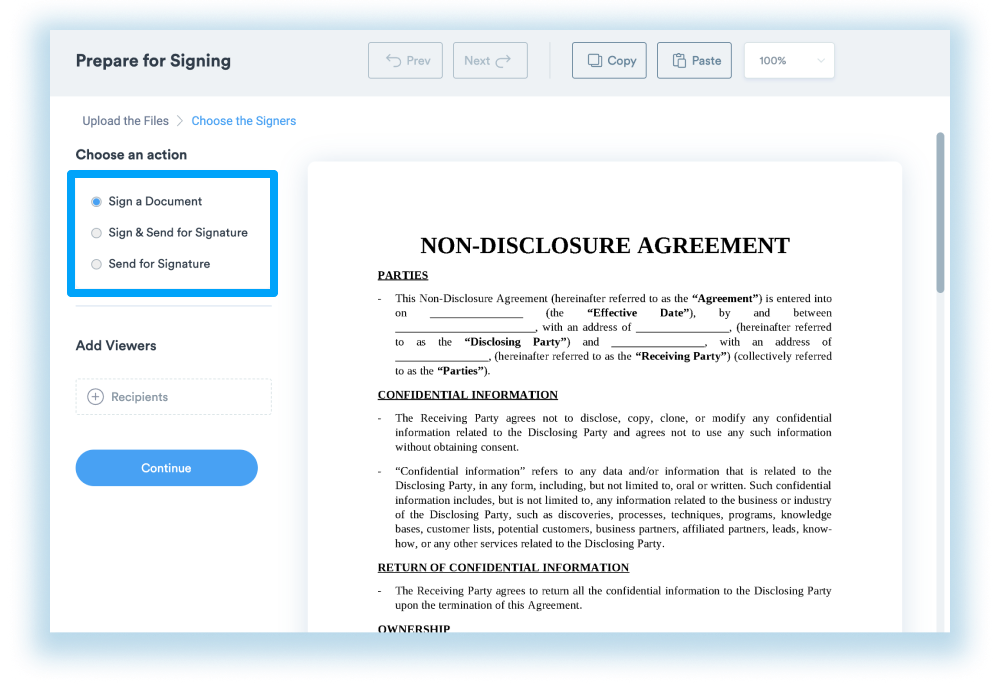

6) Add the Signers by typing their Name and Email address; make sure to enable the custom signing order if necessary. 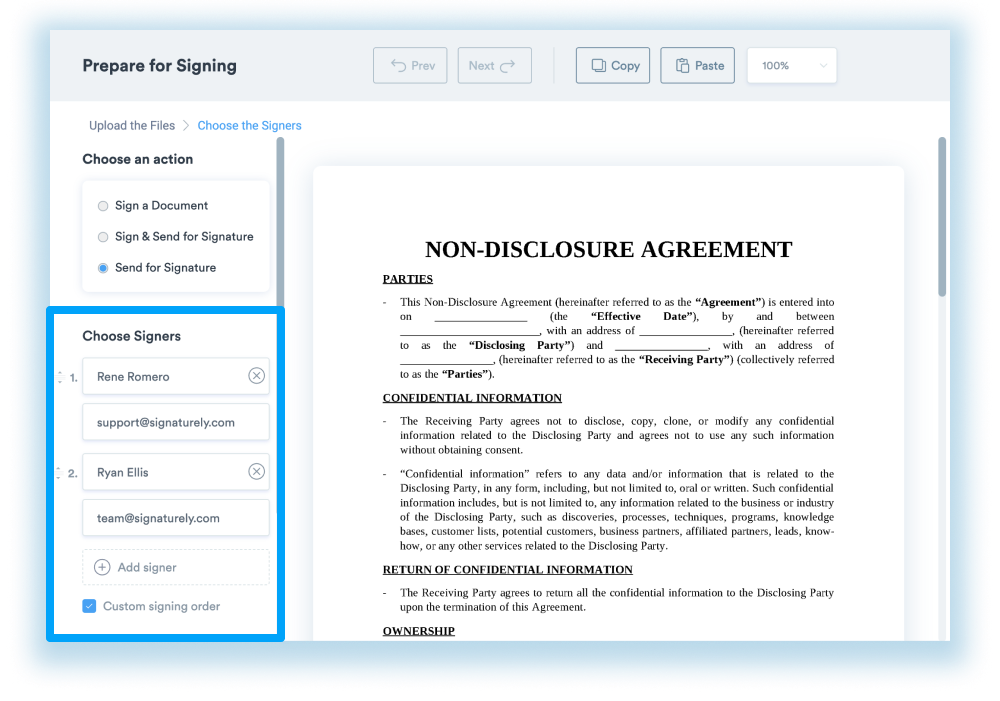

7) Click “Continue” to set up your fields. 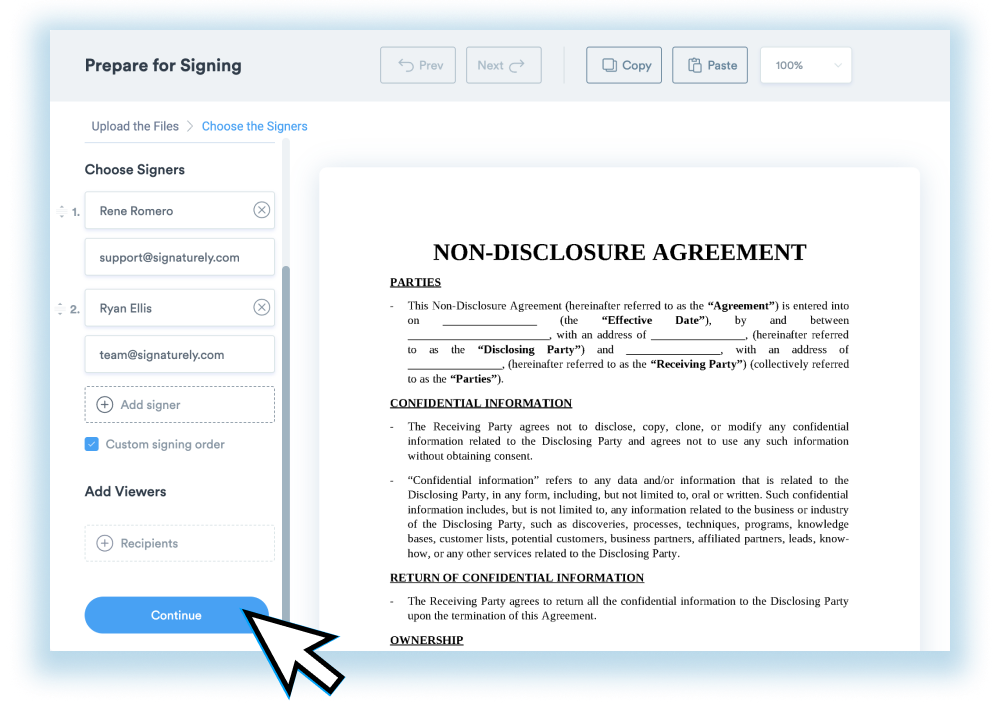

8) Drag and Drop the fields on your document and ensure they are assigned to the correct signer (Every signer will have a different color). Click “ Save” to proceed with your Signature request before sending it.
Note: Make sure to label your Textbox Fields to let your Signers know what they need to type.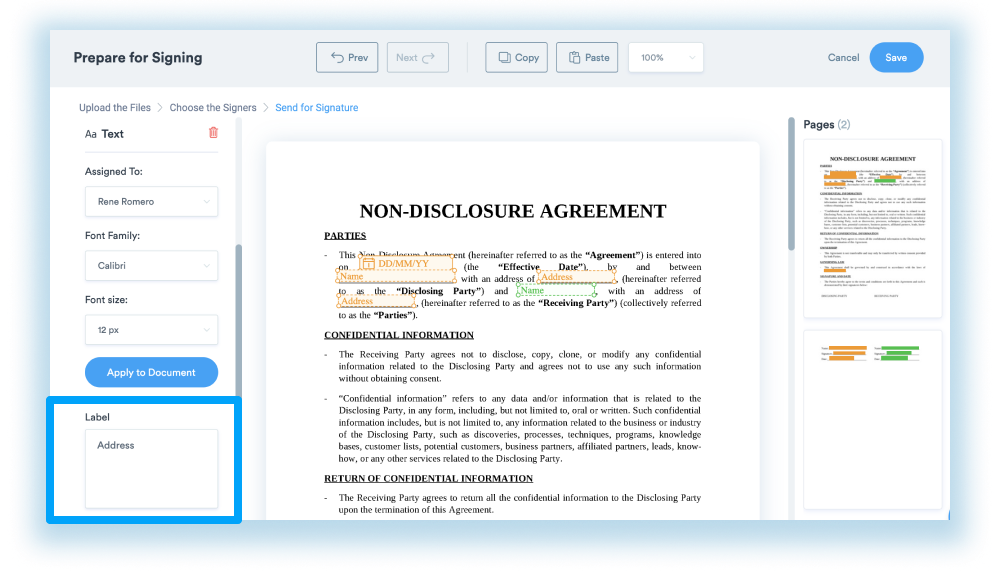
Note: Make sure to label your Textbox Fields to let your Signers know what they need to type.

9) Add the Title to your Document and the Optional Message for your signers. Click “Send a Document to sign.” 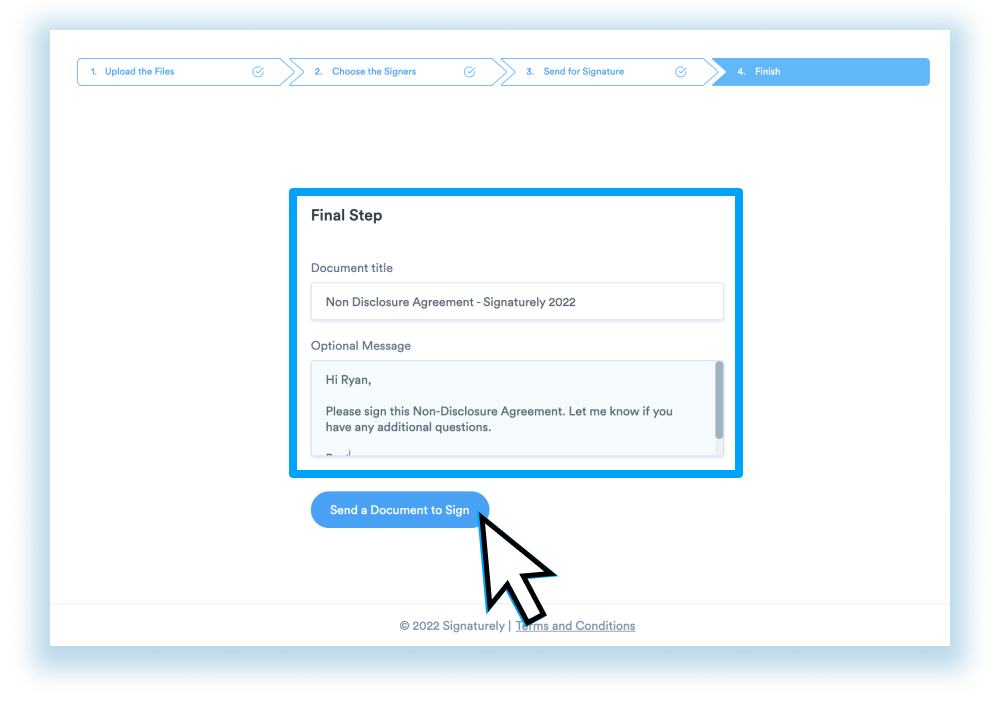

10) Your Signature Request is completed; your signers will be notified to sign the document. 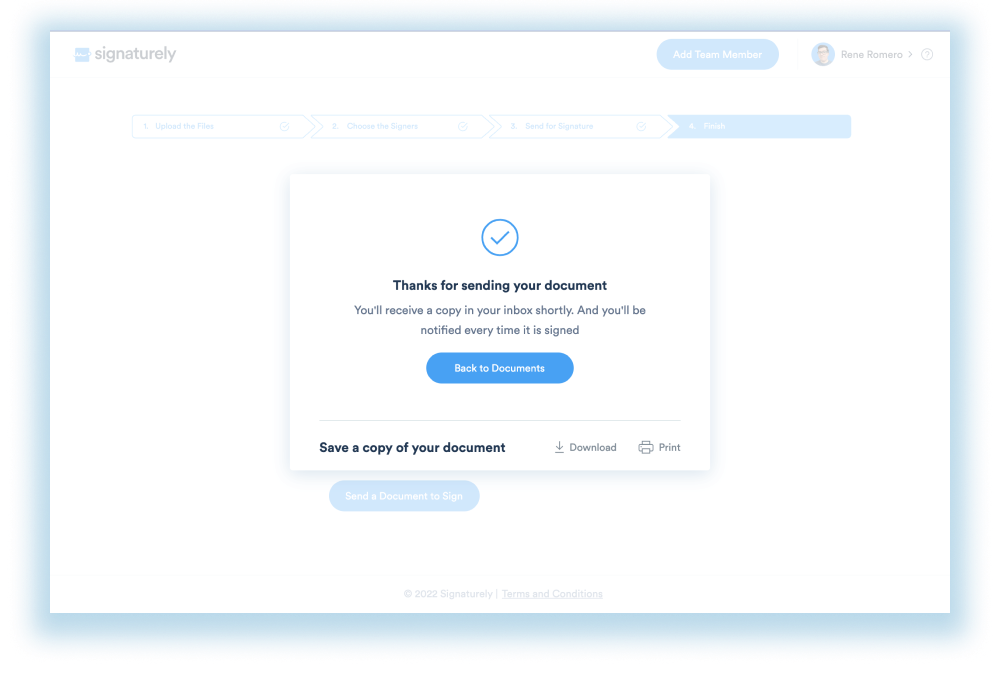

Please don’t hesitate to reach support if you need further assistance or want to share your feedback; our team will be glad to assist you.